First steps in the console
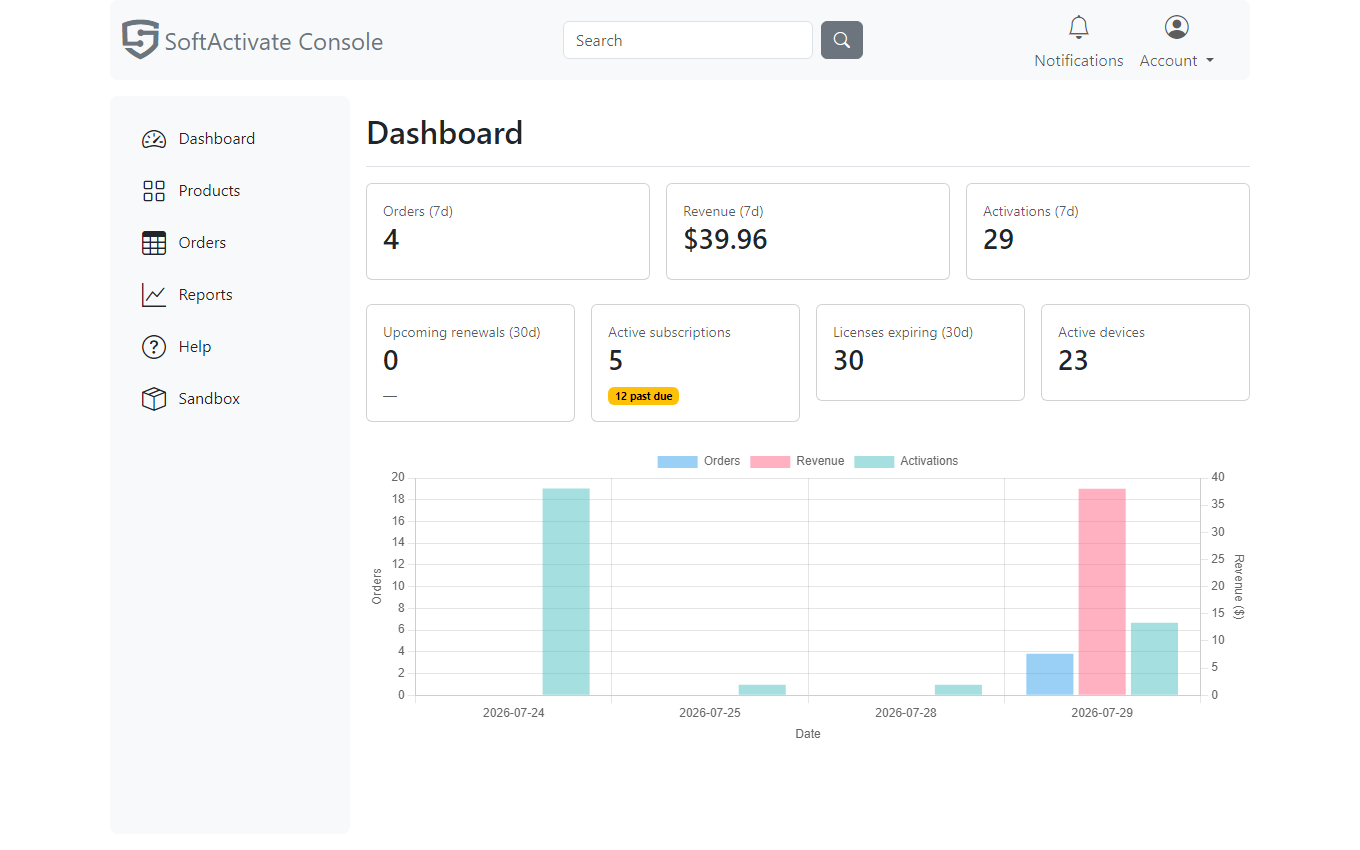
A fresh live tenant starts on the Dashboard with everything at zero. The console guides you through its empty states, and this page describes what you'll see, in the order you'll see it.
You are on the demo tier — your 30-day trial
Until you subscribe, your tenant runs on the demo tier: a 30-day free trial with up to 10 products and 1,000 active devices, no credit card required. Products, licenses and floating licenses all work, and licenses activate against the production service. Settings → Plan & Usage shows your usage and the trial countdown, plus the upgrade path; everything carries over unchanged when you subscribe.
Follow the empty states
The journey moves from product to order, and every empty state names the next step:
- Products (empty): "a product carries the pricing and license terms you sell, define both right here," with a Create your first product button. The form's License Template picker selects from your templates; on a fresh account, use the Manage templates… button beside it to open the templates page and author your first template, then pick it for the product.
- Orders (empty): a Create an order button appears once a product exists. Orders are how licenses come to exist: the keys are emailed to the customer, and a total of 0 makes the order free-of-charge.
The sandbox alternative
If you prefer to work with disposable data first, the Sandbox (linked in the navigation) is a separate origin with its own Get Started page: seed or reset sample data, an SDK connection card (endpoint, vendor id, evaluation keys with copy buttons), and a next-steps checklist. Nothing there touches your live tenant; see Sandbox and trials for the full story.
The full first run, end to end
The getting-started walkthrough covers the whole path: creating a product with its license terms, creating an order that emails the keys, and completing a first activation from the quickstarts.